
How to Use Google Calendar for HelpDesk
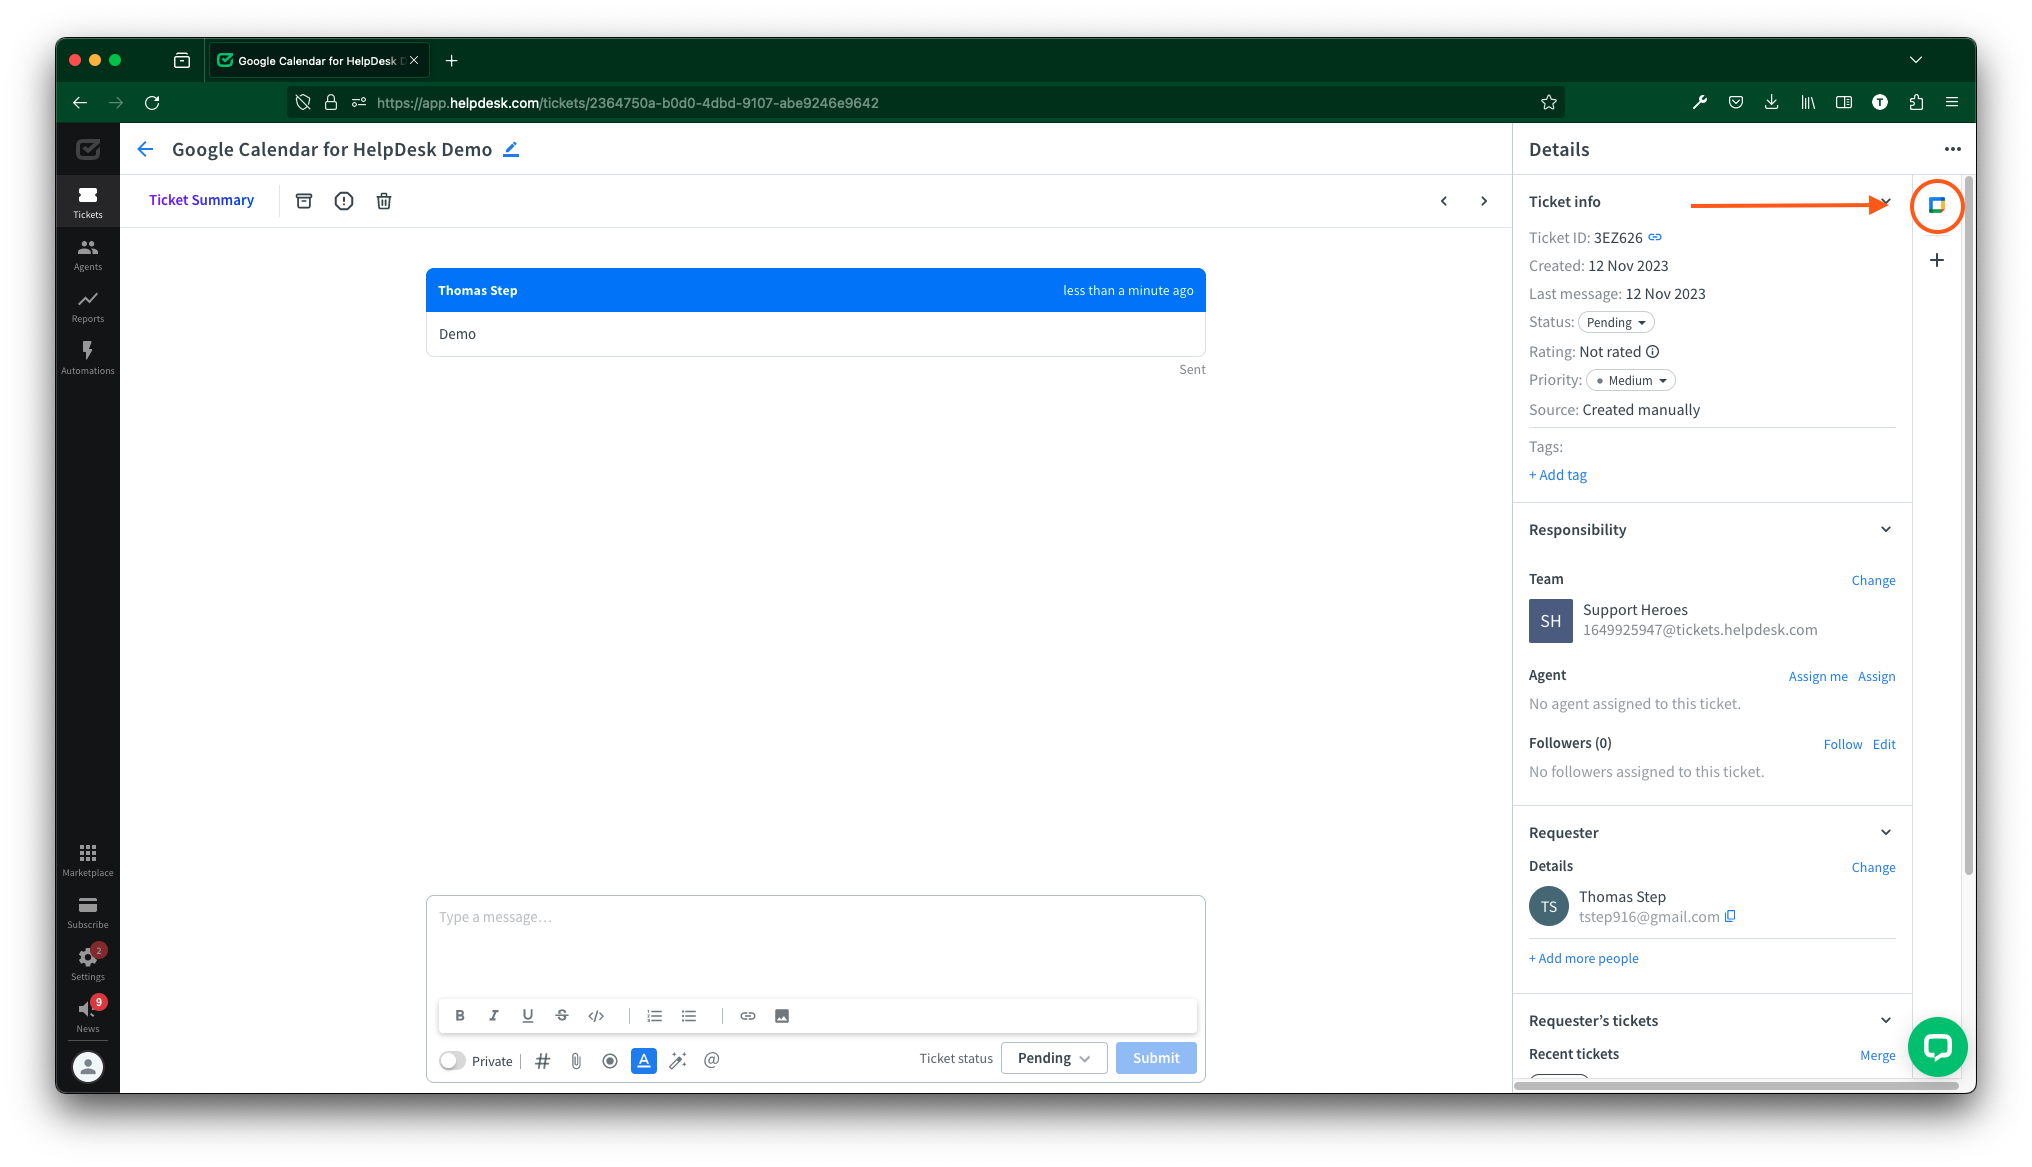
- Navigate to a ticket, and click on the Google Calendar icon to open the app.
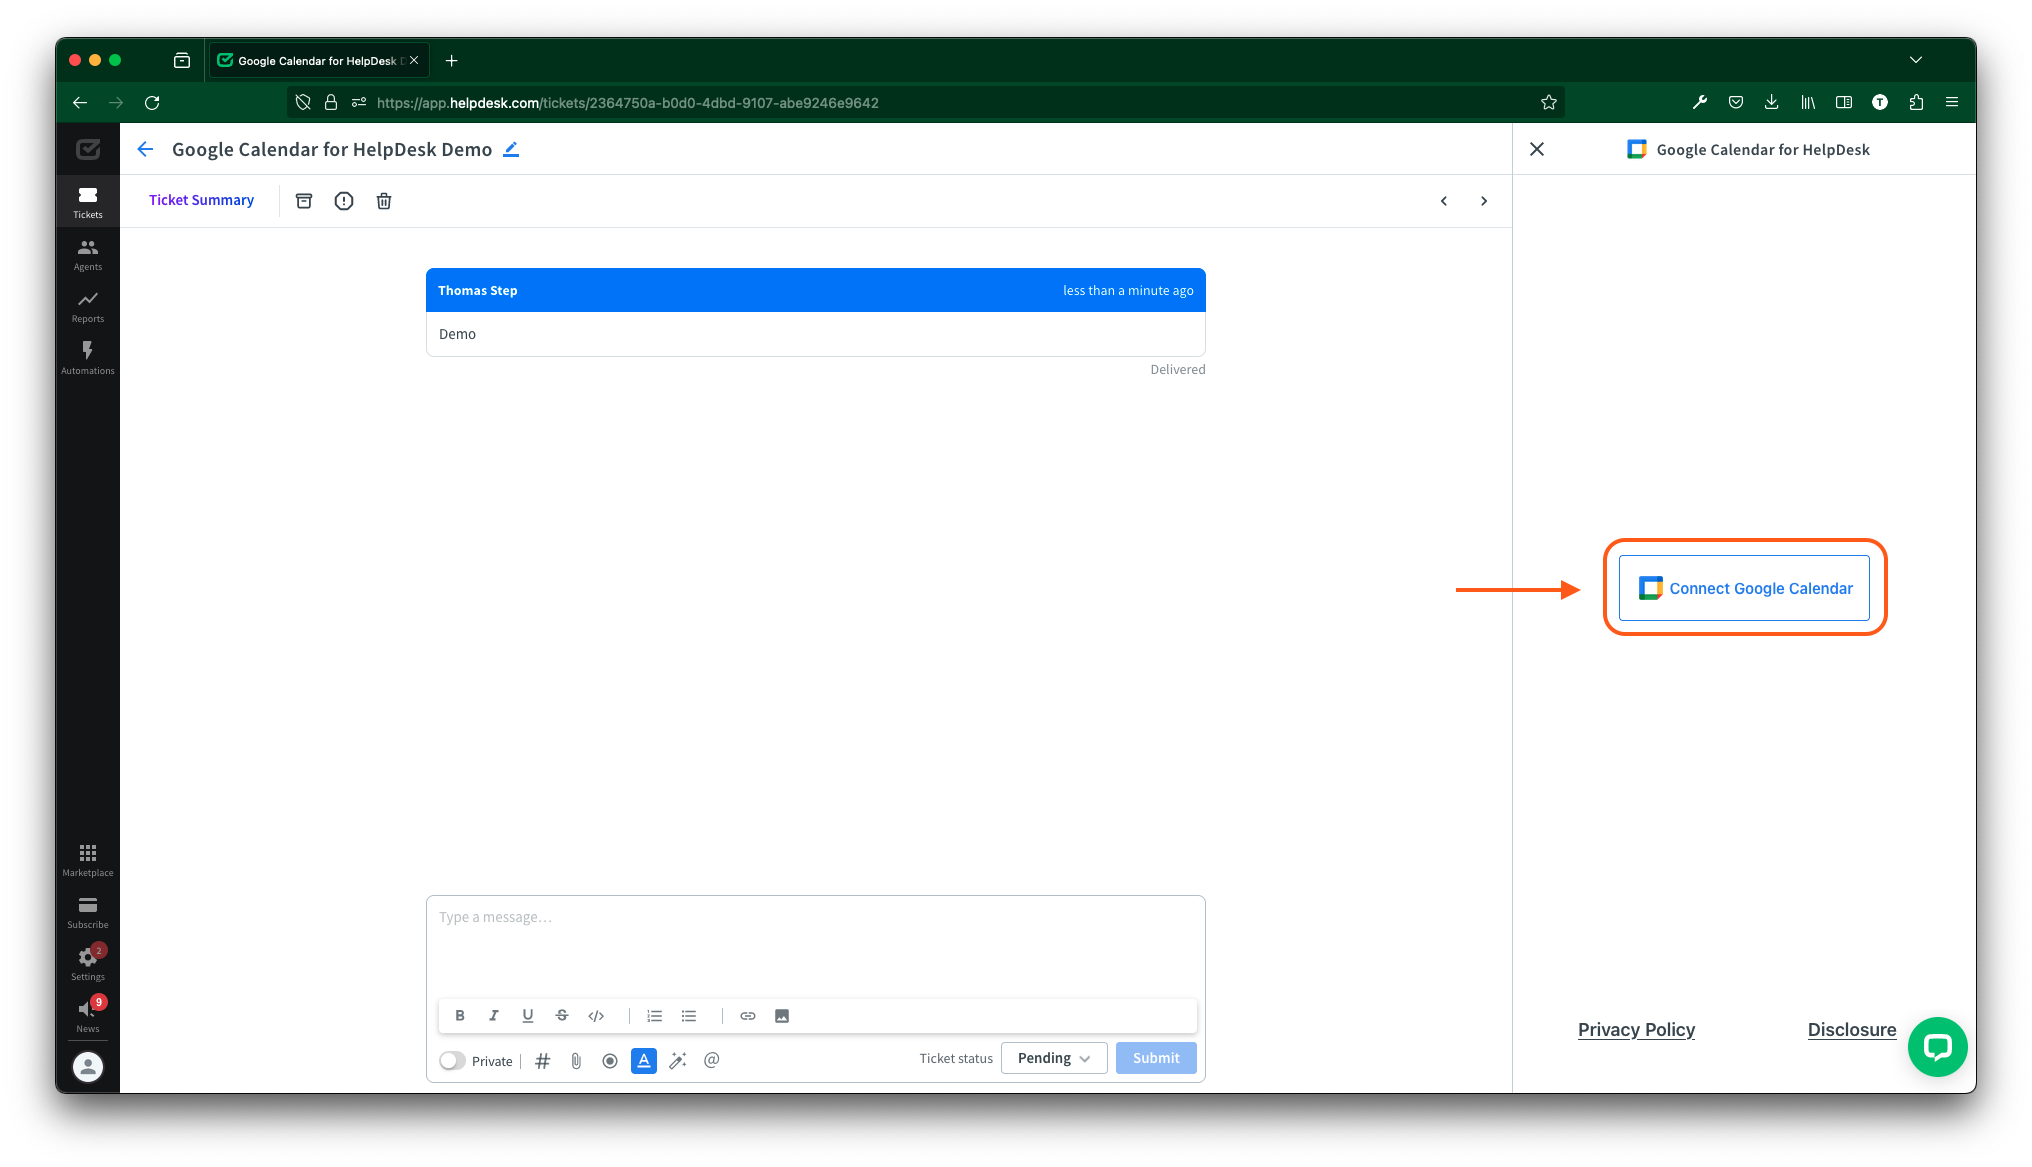
- Sign in using Google to grant Google Calendar for HelpDesk permissions to view and create events on your behalf.
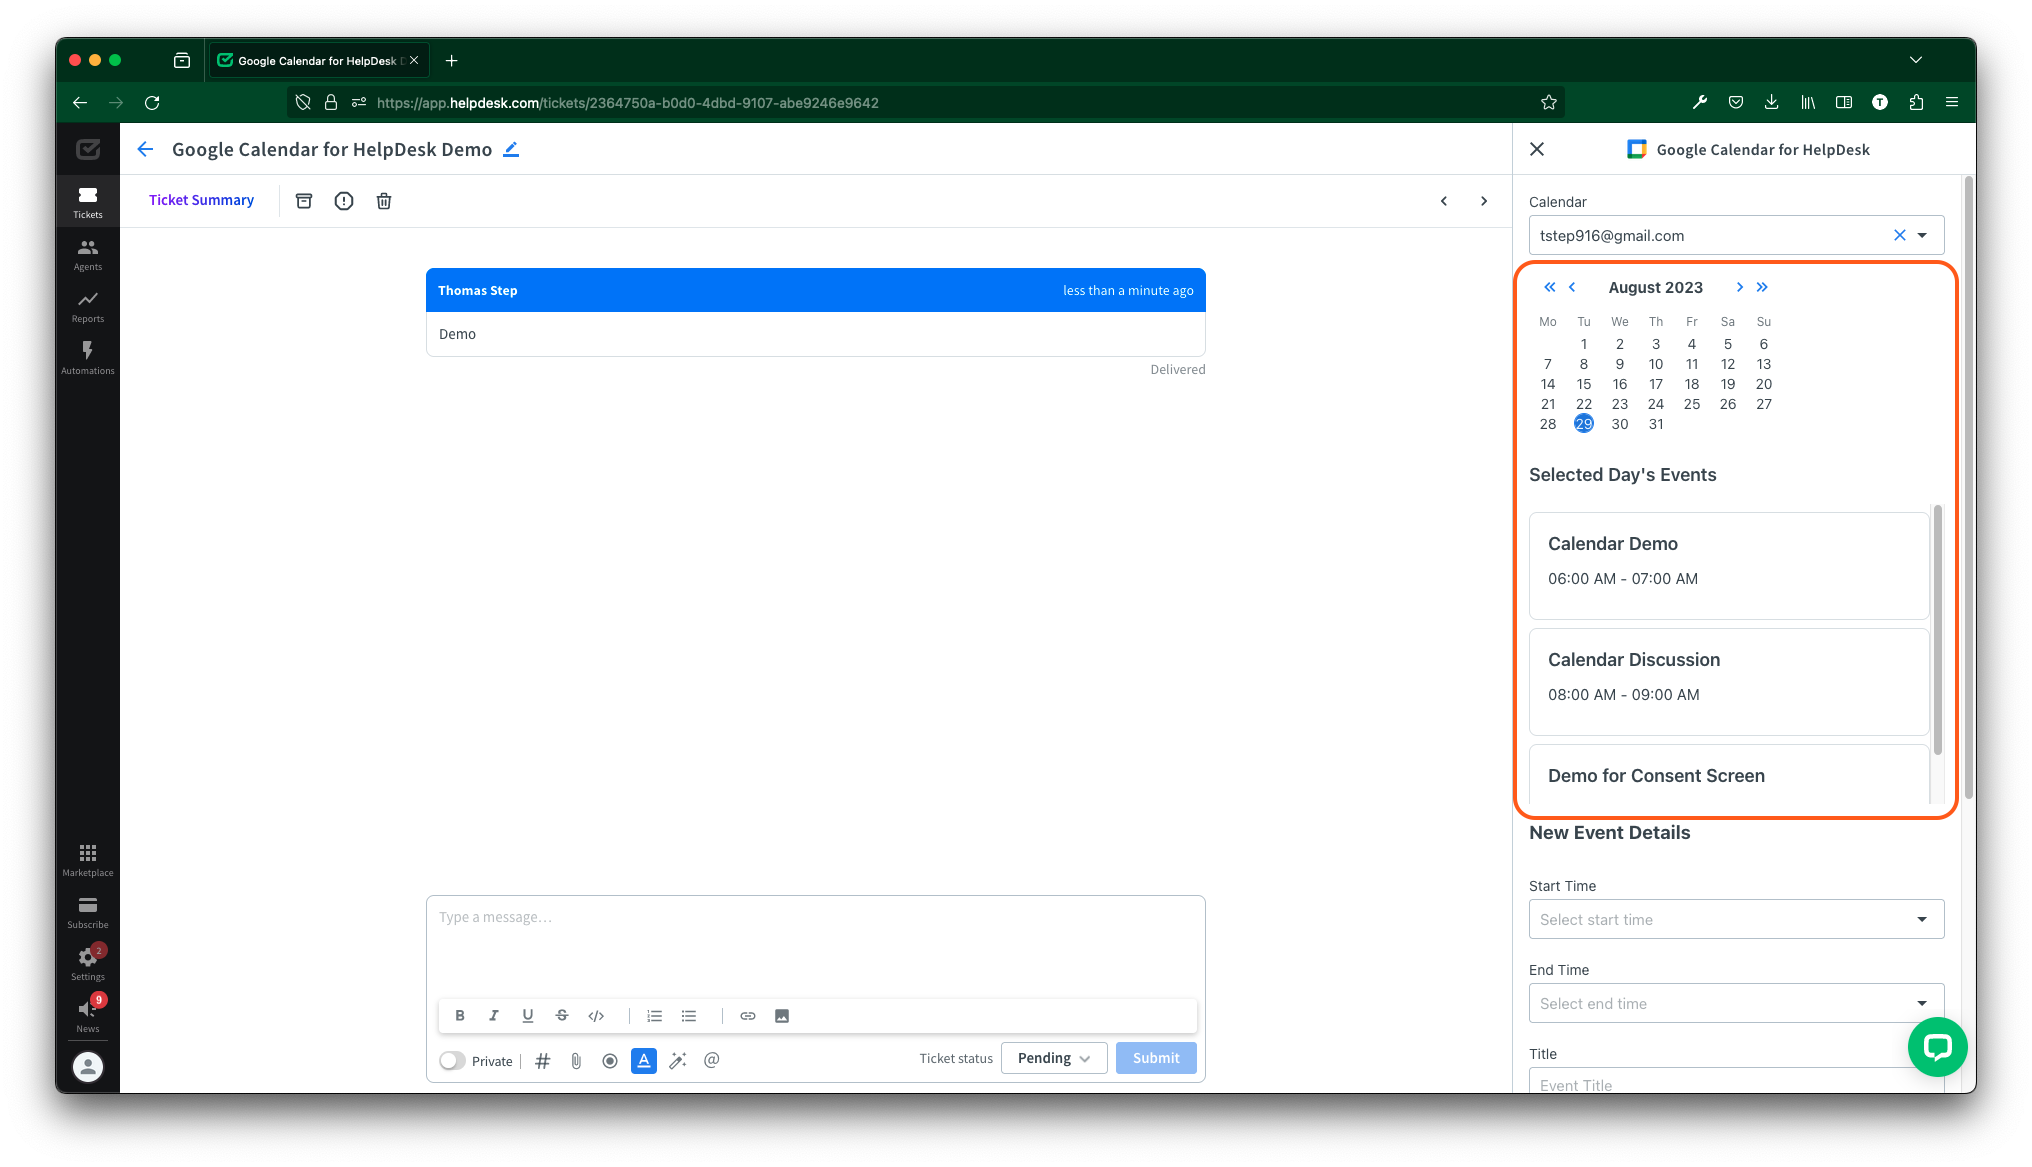
- Pick your calendar where you want to create the event. This is only relevant if you are part of multiple calendars, and your primary calendar will automatically be selected.

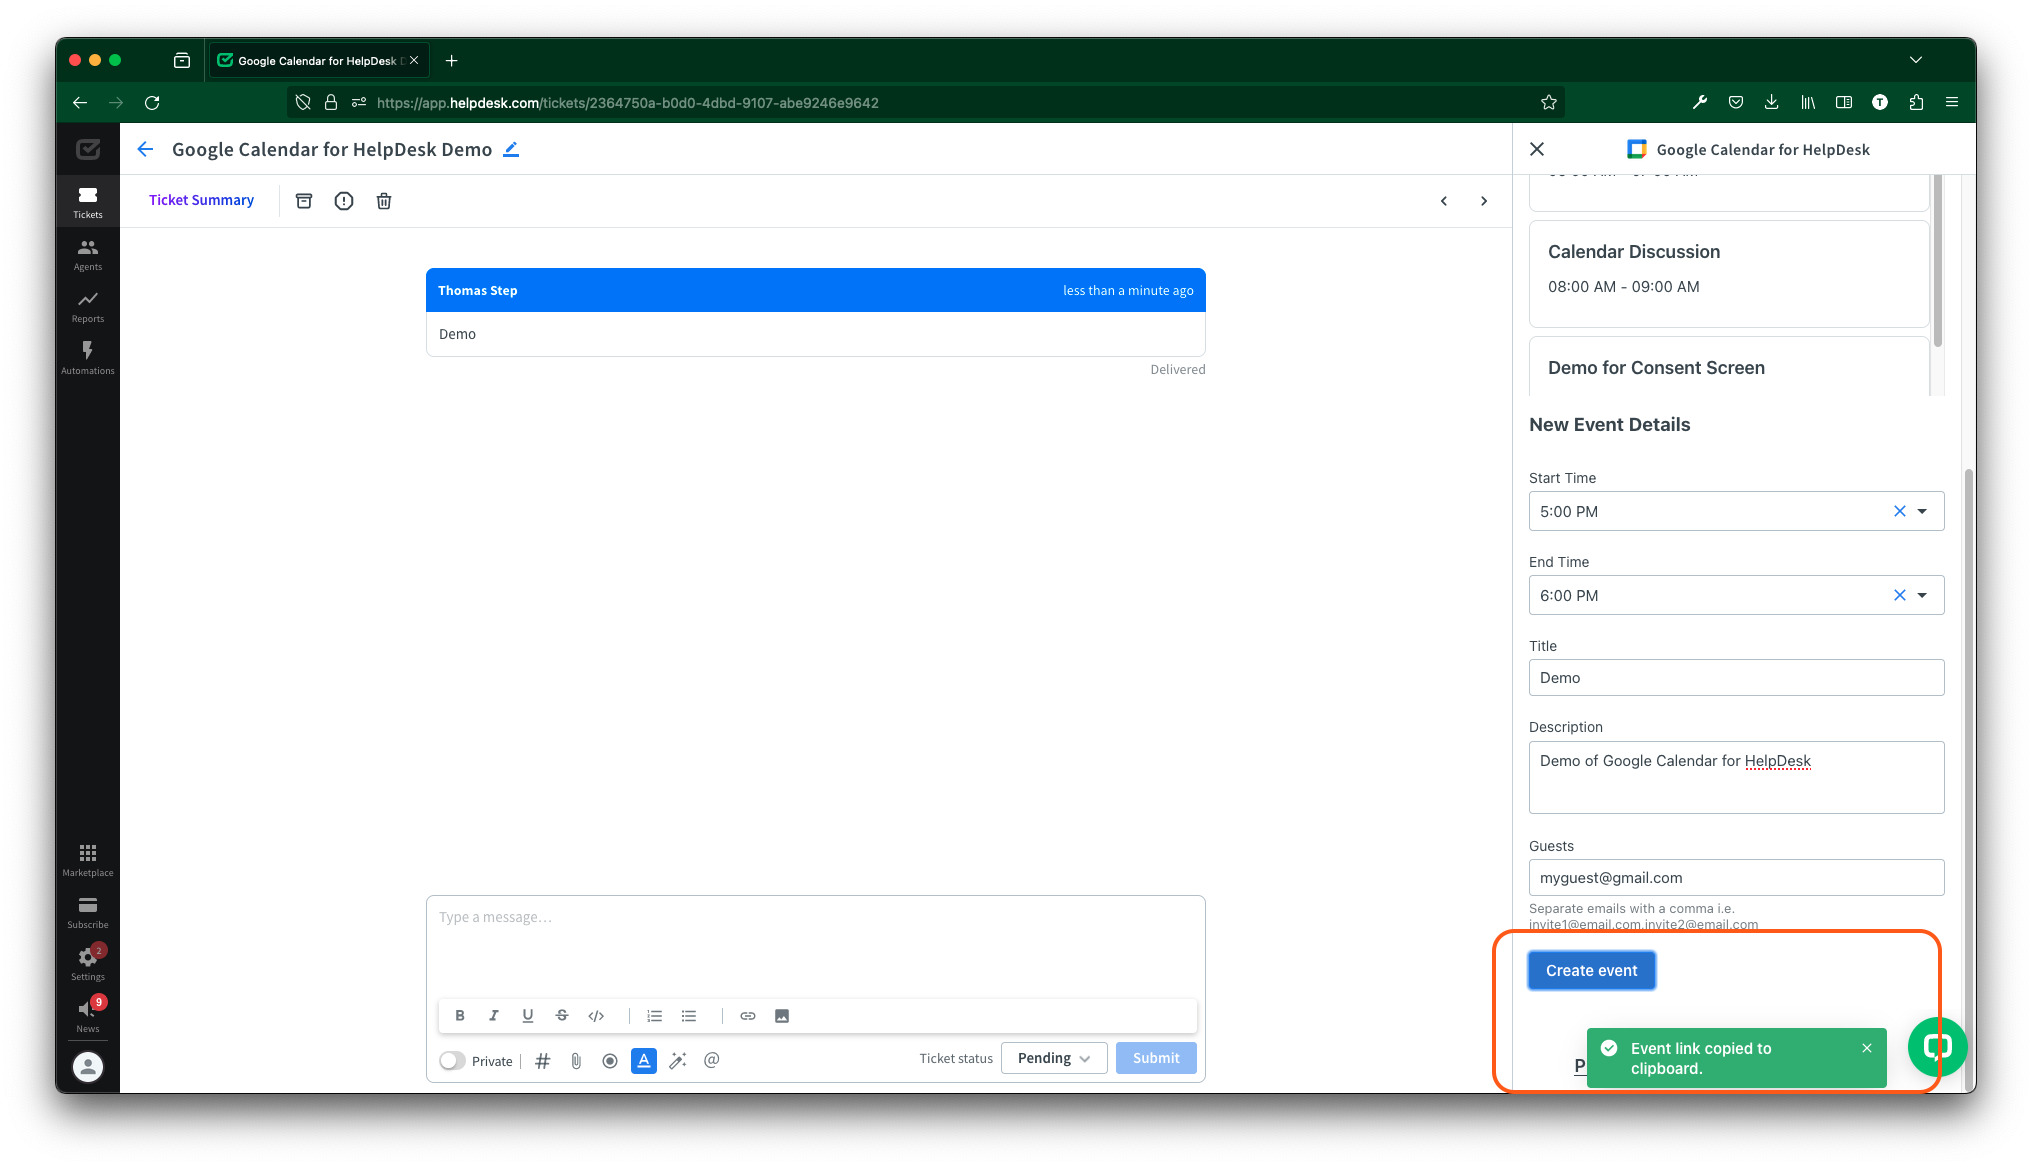
- Pick the date when you want to schedule a meeting. That day’s events are shown for your convenience if you need to schedule around another meeting.
- Fill out the meeting details for time, title, description, and attendees. Multiple attendees can be added by separating email addresses with a comma. An email will be sent to the guest to RSVP.
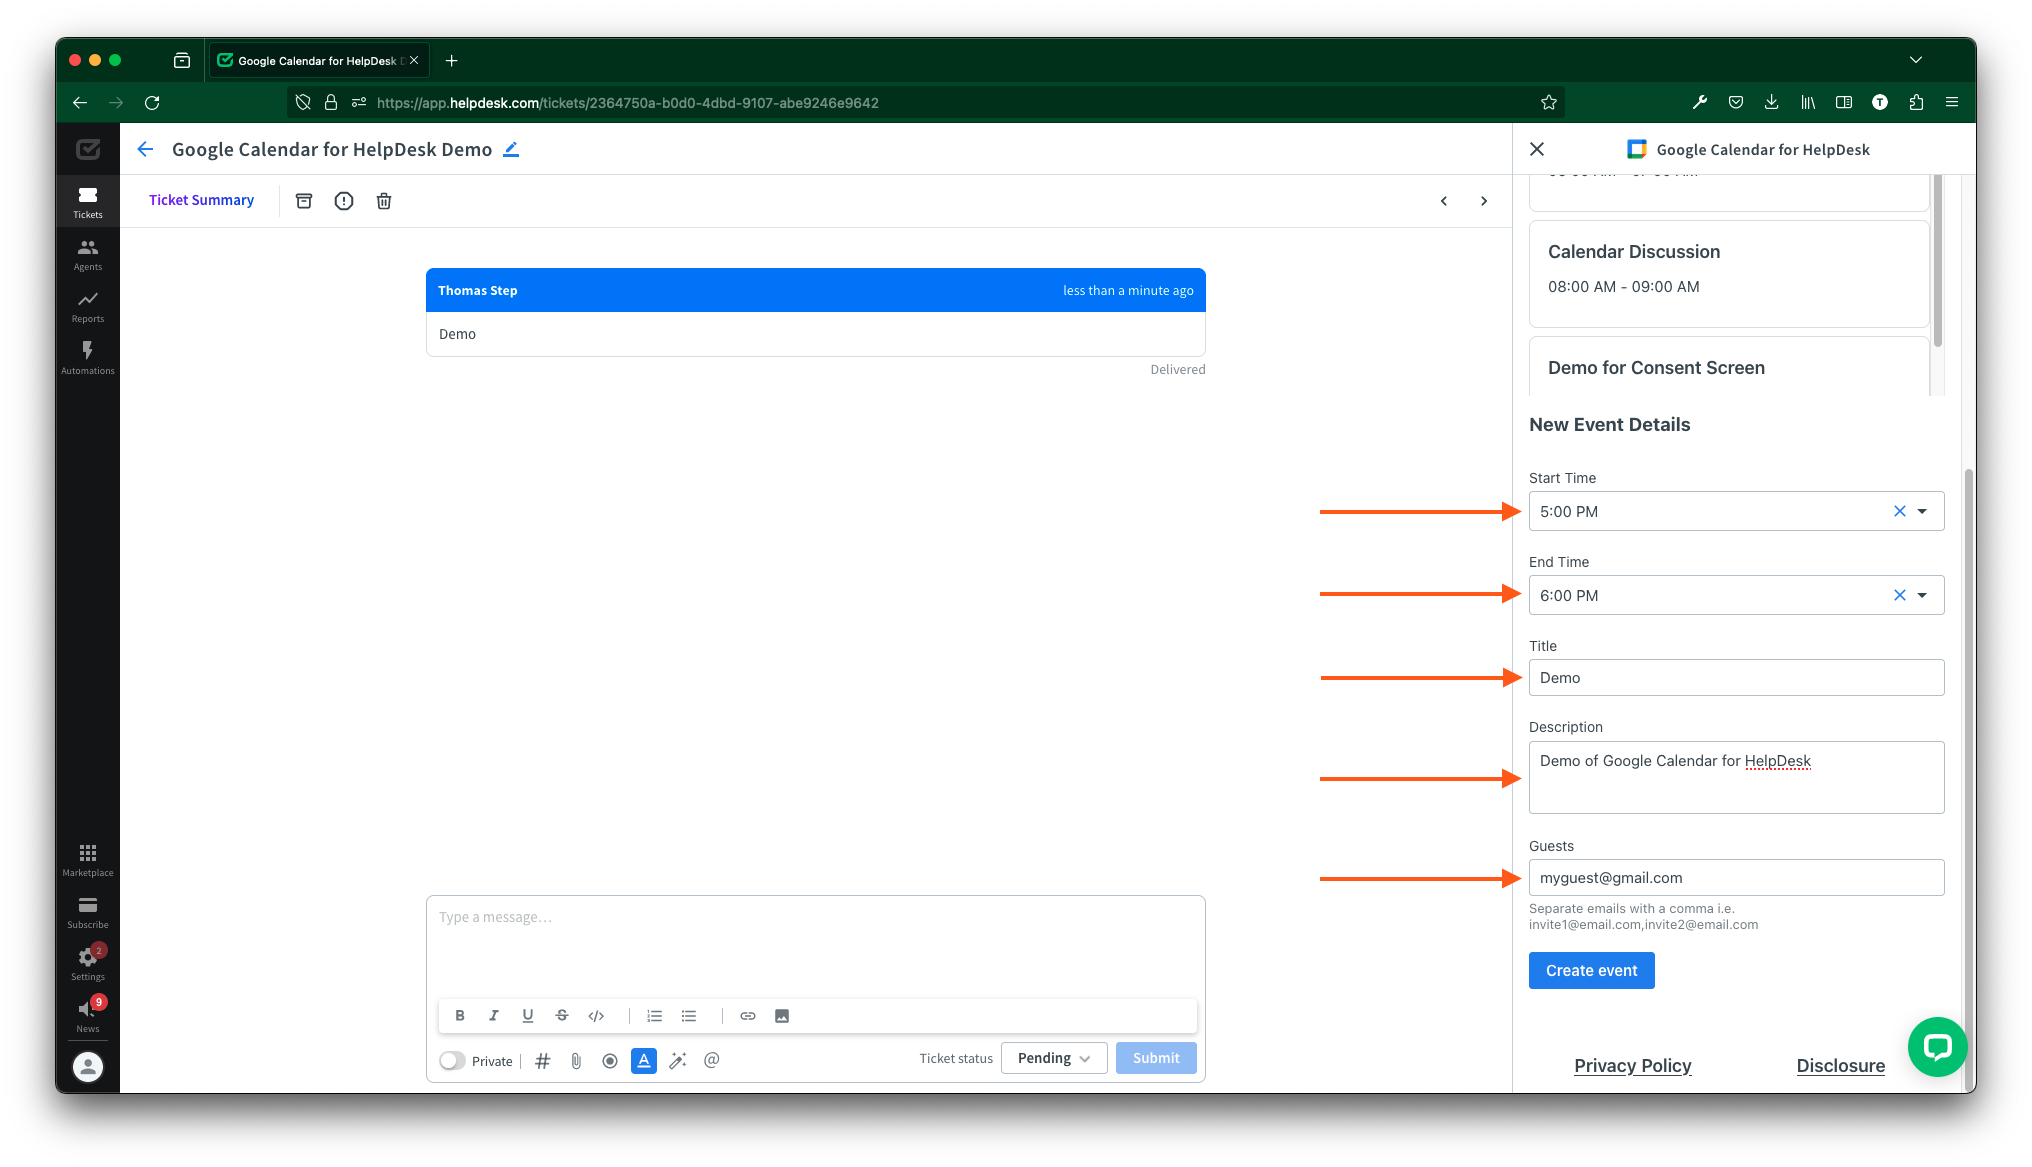
- Click the “Create event” button. The meeting’s link will be automatically copied to your clipboard and added to the widget’s section in the sidebar. If you want to add the link to the ticket, just paste it in the message box and click send.
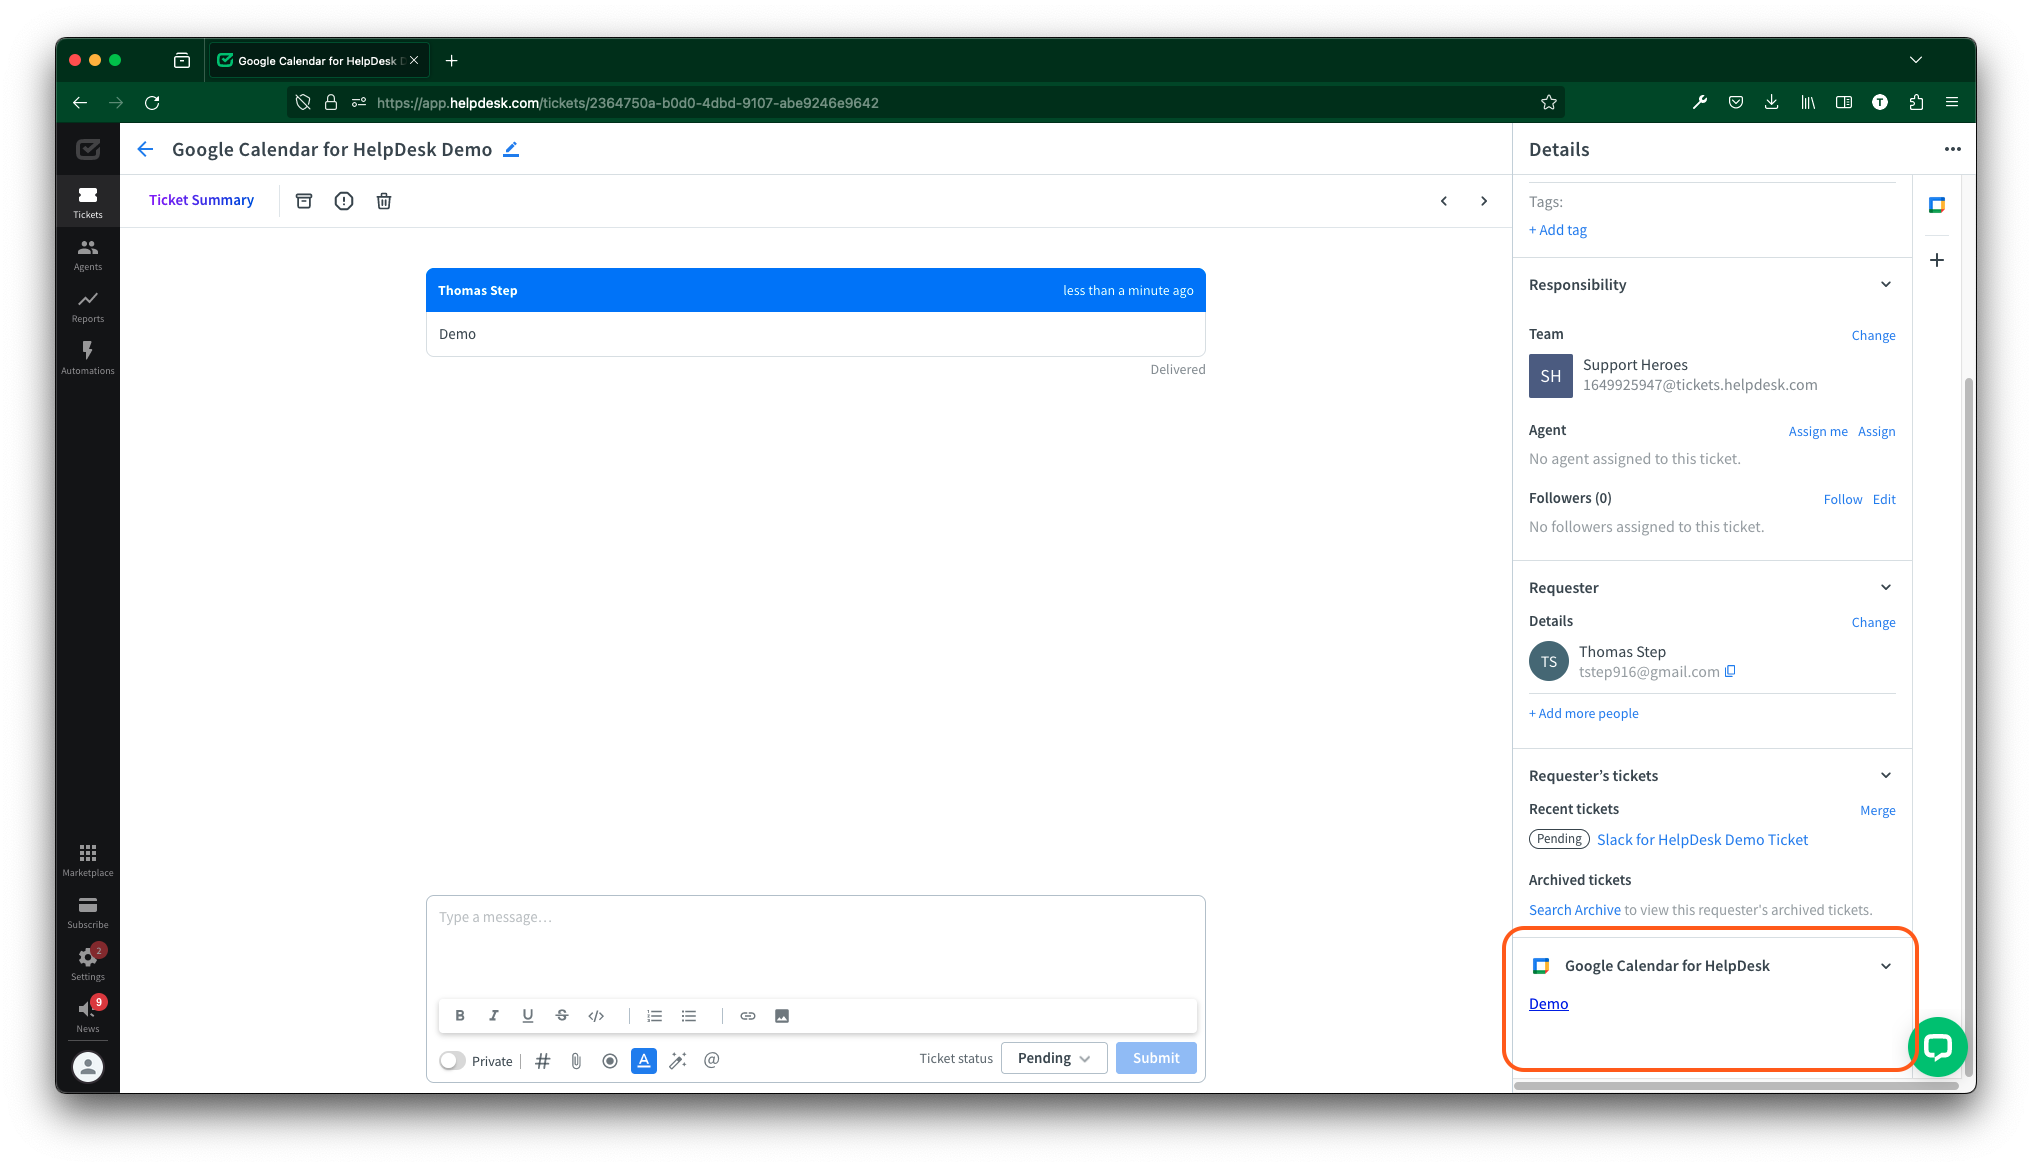
- All meetings past, present, and future are kept track of in the widget’s section.
Privacy Policy